Showing posts with label Appetizer. Show all posts

Friday, July 8, 2011

Stuffed Mini Sweet Peppers

Going along with our theme of colorful bite-sized treats, Kristin and I made stuffed mini sweet peppers this week.  We ended up making a ton, so we were lucky that a few friends happened to stop by for dinner.  These sweet bite-sized peppers would make a great appetizer or side dish, and they are so fun to make!

These peppers taste like little bell peppers, except they are sweeter (especially the red ones).  You can find them at the grocery store next to regular bell peppers, and they are typically sold packaged in bags or cartons.

Ingredients
Mini sweet peppers (we used around 1 and 1/4 pounds)
1/2 large yellow onion, finely diced
2 cups finely diced crimini mushrooms
1 5-oz container of grated parmesan cheese
1/4 cup fresh basil leaves, roughly chopped
salt and pepper to taste
olive oil
rosemary
oregano
garlic salt
1 slice of bread, cut into small crouton-sized chunks (we used multigrain, but any crusty bread or sandwich bread will do)


Chop off the very top of the peppers with a sharp knife, and seed the inside of the pepper.

Sauté the diced onions and mushrooms in a generous amount of olive oil until tender and browned.  Season with salt and pepper, rosemary, oregano, and garlic salt.  Transfer to a big mixing bowl.  In the same pan, fry the bread crumbs in any remaining oil.  They should be brown, toasty and crispy on both sides.  Toss the bread crumbs with the sauteed veggies, parmesan cheese, and basil in the mixing bowl.


To stuff the mini sweet peppers, use a small teaspoon and tuck a generous amount of filling into each pepper until full.  If needed you can use the spoon handle to help press the filling in.  Arrange the peppers in a lightly greased baking dish, stuffing-side up, and bake at 375 until the peppers are tender and the filling is bubbly and browned.


We could not get enough of these, and we hope you enjoy them too!  

We'd like to hear from you- have any recommendations, requests or ingredients you'd like to see next?  Let us know in the comments!

Thursday, June 30, 2011

Cupcake Lasagna

This idea was suggested to us by a friend, and it turned out so incredibly tasty and easy to make that we're now thinking of having a party dedicated entirely to dishes made in cupcake tins.  Think about it: cupcake chicken pot pies, cupcake lasagnas, cupcake berry pies, cupcake strawberry summer cakes... it would be magical.  But enough of that...

Our cupcake lasagnas were made with sauteed vegetables, but if you are a carnivore you can add ground meat, or any other fillings you prefer.  The idea is simple enough: sauté some veggies, grate some cheese, and layer your fillings between gyoza wrappers (similar to wonton wrappers, except they are round).


Ingredients
1 package gyoza wrappers
1 small container parmesan cheese (grated)
1 medium package mozarella cheese (we used aged cheese but you can use fresh if you like)
1 jar marinara sauce or homemade marinara (about 24 oz)
1/2 yellow onion, diced small
1/2 medium eggplant, sliced very thin and diced into 1 inch strips
1 cup diced crimini mushrooms
1 cup grated parmesan cheese
2 cloves garlic, diced
fresh basil
olive oil
Italian herbs (rosemary is great)
salt and pepper to taste
2 cupcake tins

Sauté the onions and eggplant in olive oil over medium-high heat until both are tender.  Add mushrooms and garlic and continue to stir and cook until the vegetables are soft and slightly browned.  Season with rosemary, salt and pepper.

Prepare your cupcake tins by coating them with a light layer of olive oil or unflavored cooking spray.  Drop a small dollop of marinara in each cup.  Press a gyoza wrapper into the cup, pushing down until it fits snugly into the bottom of the cup and the sides of the wrapper curl inward.  Top with grilled veggie mixture, shredded mozarella, and more marinara (remember not to overflow the cups).  Seal the cup with another gyoza wrapper, tucking it in as you did with the first.  Top with a dab of marinara and a sprinkling of parmesan cheese.

Bake at 375 until the gyoza wrappers are browned and the lasagna is bubbly.  Remove from the tin with a spoon, and top with a curl of basil.  Enjoy!


Friday, May 13, 2011

Steamed Artichokes and Aioli

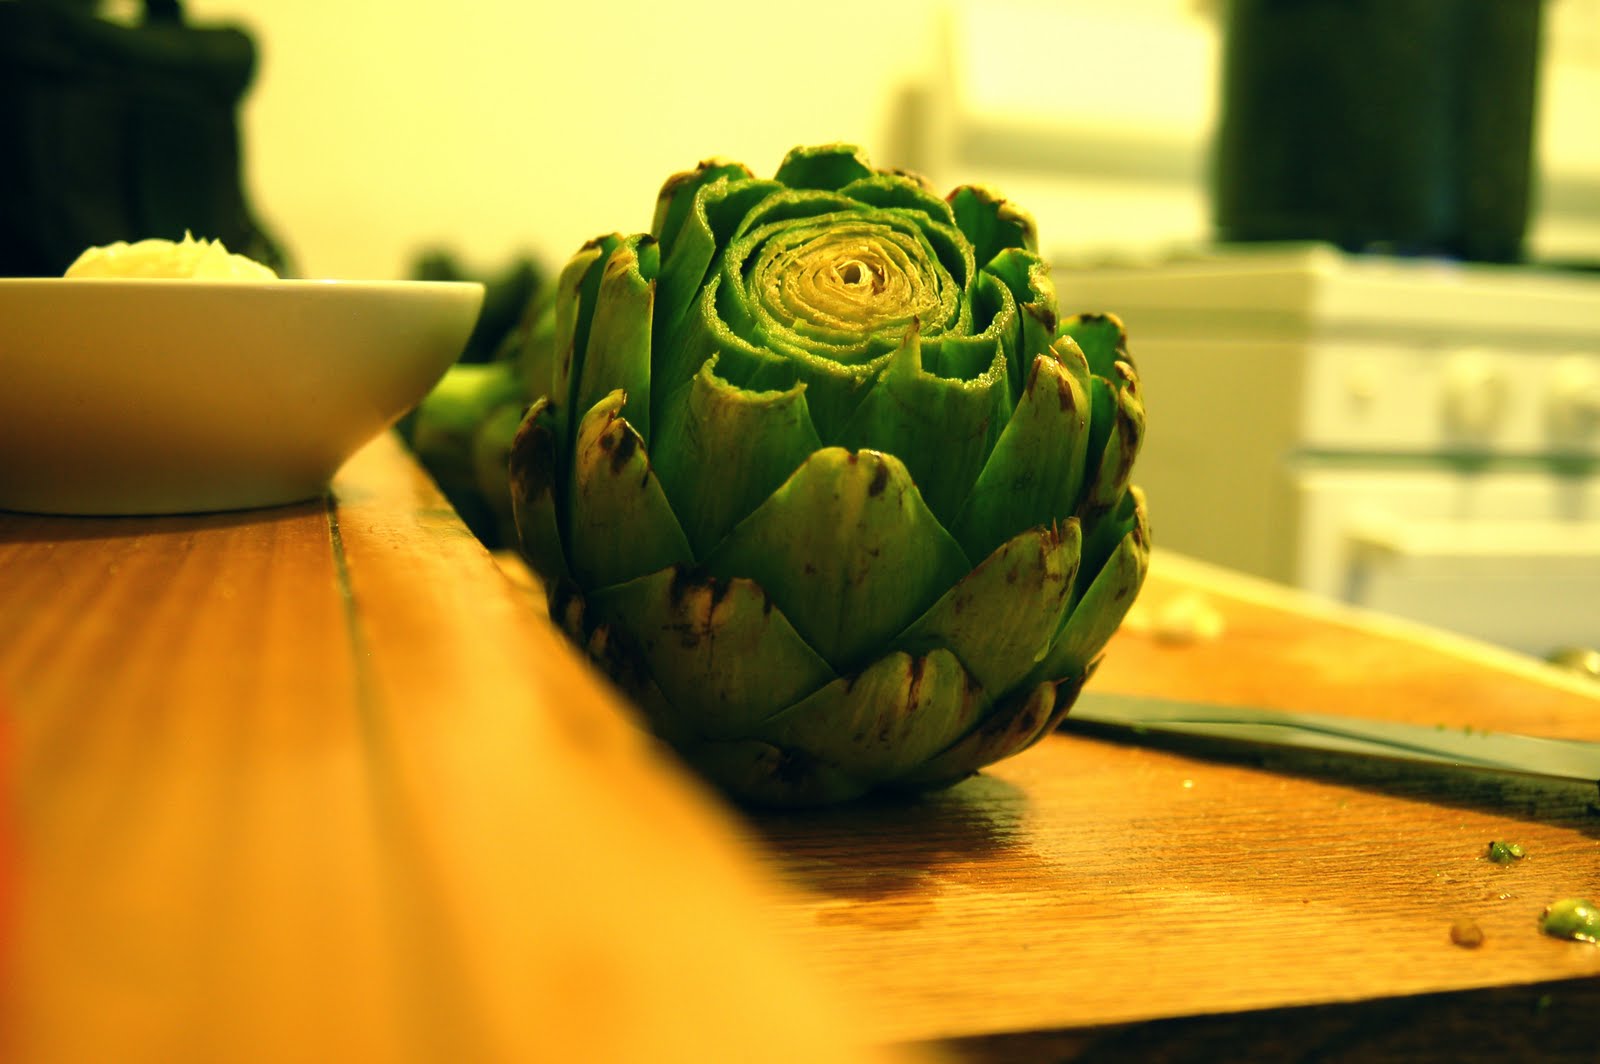
Artichokes are like hedgehogs- prickly and ferocious on the outside, cuddly on the inside.  I know many people are put off by the artichoke’s confusing exterior, so this week we thought we’d lay out a simple steamed artichoke recipe along with easy, how-to-eat instructions for anyone unfamiliar with this vegetable.  This is one of the most addicting vegetables, and it’s the perfect summer food!

Steamed Artichoke
2 artichokes
2 cloves garlic, roughly chopped

How to cut an artichoke:
Using a serrated knife, cut off most of the stem (you can leave about an inch of stem on the artichoke if you’d like).  Also cut about two inches off of the tip of the artichoke, so that all the layers of petals are exposed.

Place the artichokes snugly together, stems-up, in a pot of simmering water.  You only need a few inches of water in the pot – the artichokes should not be completely submerged.  Add the roughly chopped garlic to the water; this infuses the artichoke with a yummy hint of garlic.  Cover and simmer for about 45 minutes, until the stem of the artichoke is tender and the petals are easily removed.

Aioli
¾ c. mayonnaise
juice of ½ lemon
3 cloves minced garlic

Combine ingredients in a bowl and mix thoroughly.

How to eat an artichoke:
Remove and discard the outermost petals near the stem of the artichoke – these petals don’t taste great.  To eat the petals, hold them by the outer “pointy” end, and dip the fleshy end in aioli.  Pull the petal through your teeth to get the meat, and then discard the petal. 

When you get to the center of the artichoke under the little purple petals, you can simply take a spoon and scoop out the seeds to discard them.  Underneath those seeds is the delicious artichoke heart (attached to the stem), which is the best part!